Springtime Gardening: Some Tips From Toadshade
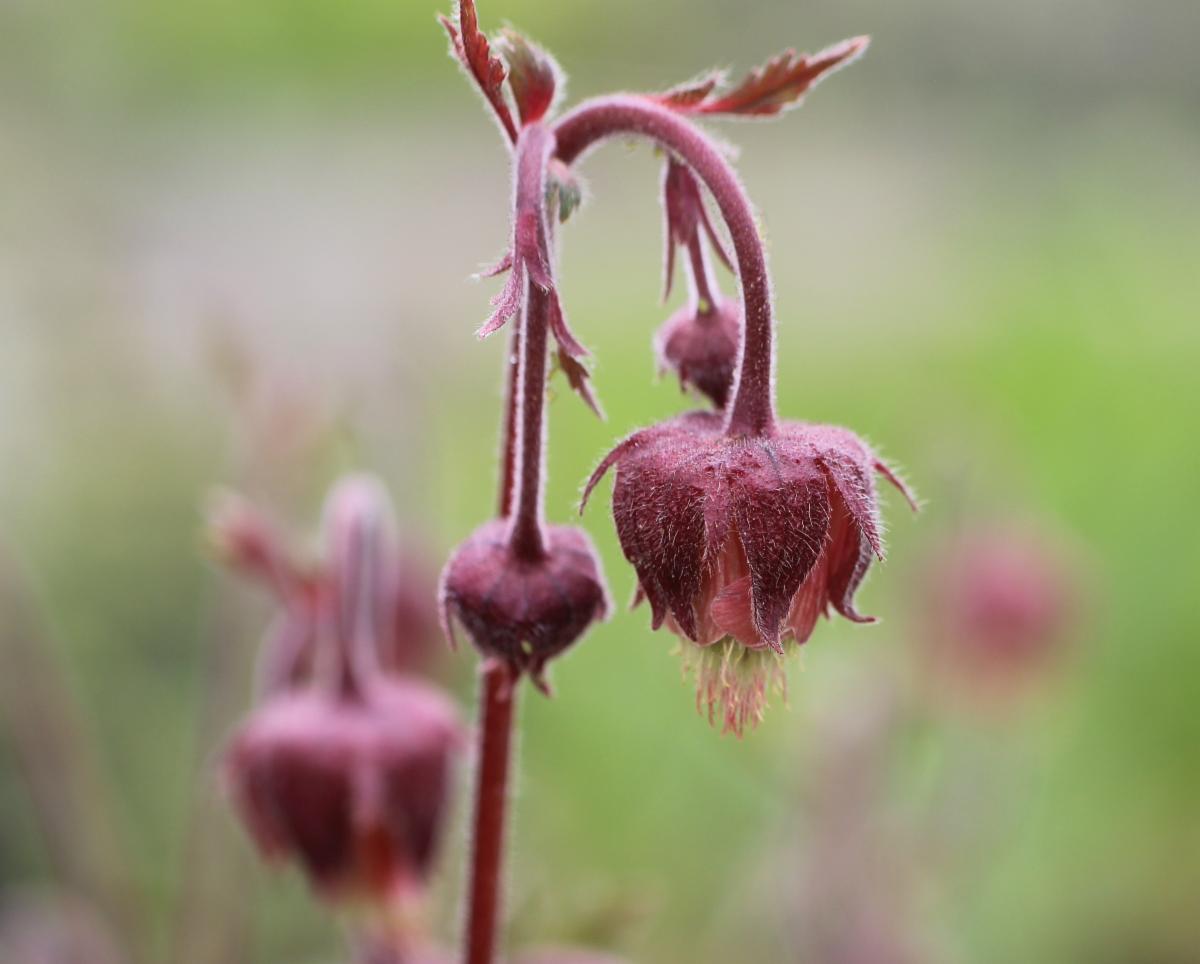
I'm sure you've noticed, but things are blooming out there! I've always thought Purple Avens (Geum rivale) looks like the sort of pretty, but pointedly silly flowers you see growing in very formal English gardens.
It finally feels like spring outside! The growing season has finally come, and we're all eager to get a start on our gardens for the year-in fact, many, many of us have already started. Where gardening with native plants is concerned, there are a few concepts that will make springtime gardening much easier and more sustainable, and a few simple guidelines that may save you disappointing headaches.
Native Plant Gardening In Springtime: A Broad-Strokes Guide
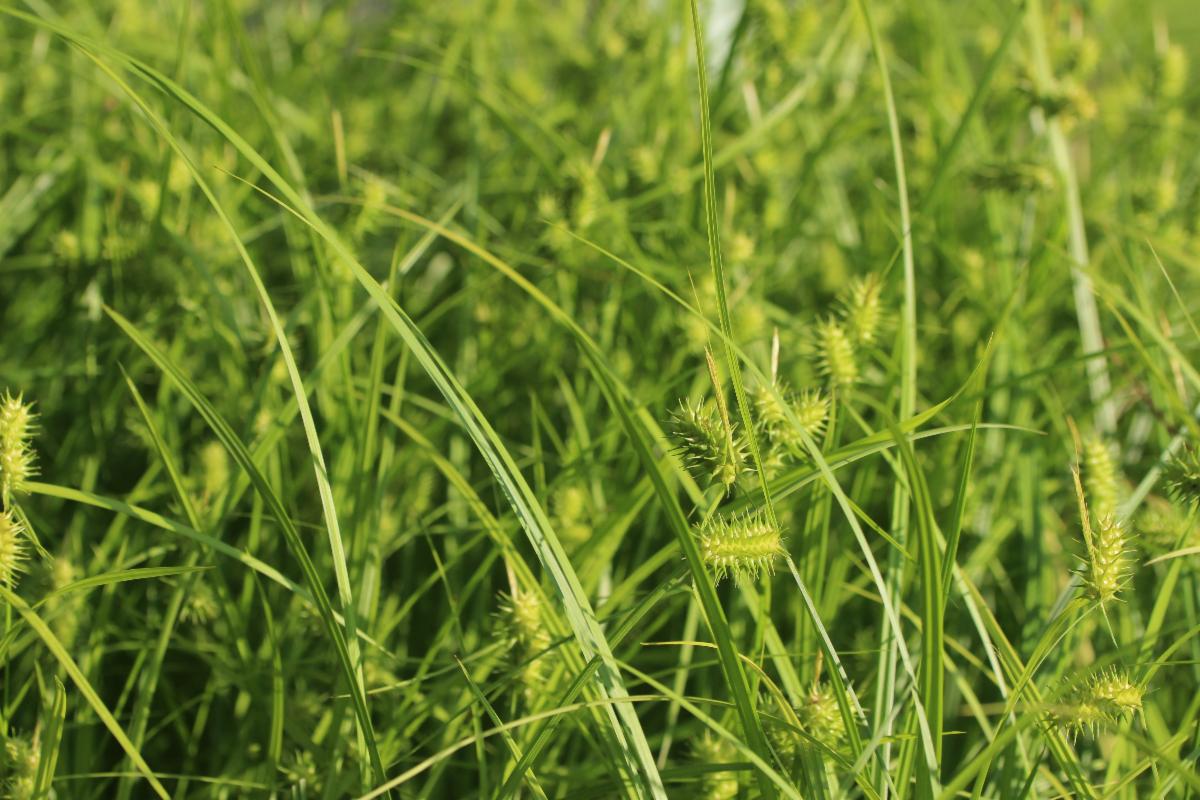
Thank goodness things are green again!! (Shallow Sedge, aka Carex lurida)
With the plants greening up, the trees blooming wildly, and all of our loved ones with seasonal allergies sneezing over and over again, there's no mistaking the arrival of spring. Those of us with the urge to garden have likely already found an excuse to get dirt under our nails. But how does gardening with native plants differ from standard flower or vegetable gardening in the spring?
It's a bit complicated: most of us are familiar with the idea that starting plants from seeds is a much more economical way to grow a garden than starting them from plugs or potted plants. Especially where native plants are concerned, purchasing a fully mature plant can be expensive! But people are often intimidated by seed, and people tend to be especially intimidated by native plant seeds. Why? Well, because...
Concept 1: Native Plant Seeds Often Require Cold Stratification or Other Special Treatment
It's easy to get overwhelmed by the idea of having to give each species of seed its own special treatment, but as with most things, the best approach is simply to take it one step at a time. There are really only two critical instructions for growing native plants from seed, and they're quite straightforward!
1) Figure out what your species of seed requires. The easiest way to do this with our seeds is to simply read the instructions on your seed packet, or visit the species page on our website to see those same species-specific germination instructions.
2) Follow the instructions. Your seeds may need any of a number of special treatments (you can find instructions on how to do all of them here on our website), but by far the most common, and the one that people struggle with most, is cold stratification. So let's get into how (and when!) to do cold stratification properly.
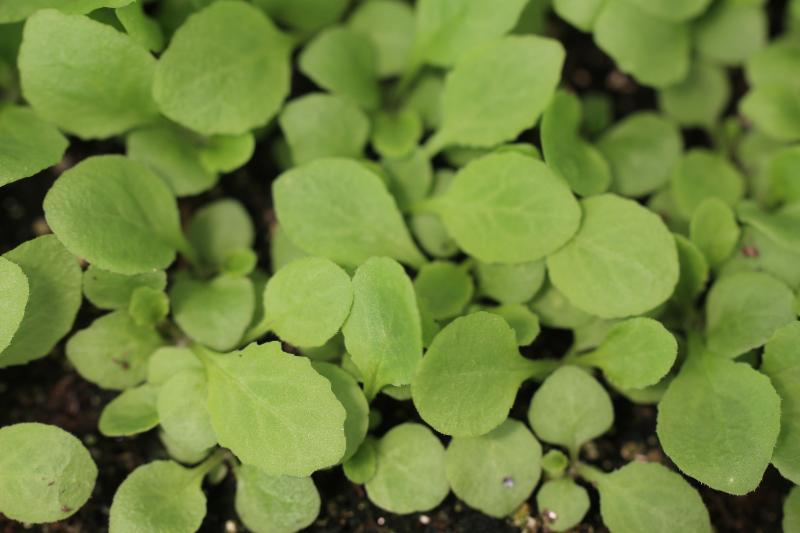
These Great Blue Lobelia (Lobelia siphilitica) seedlings were cold stratified directly on top of the moist soil in this pot for 6 weeks before being taken out of the refrigerator and moved to a warm, sunny location.
Concept 2: How to Cold Stratify Seeds
Cold stratification is the boogeyman of the beginner native plant gardener. Confusing as a concept, unhelpfully named, and slightly intimidating even once you do understand what you need to do. It is, however, deceptive. Because in reality, it's not that difficult. Let's break it down into steps!
Step 1) Take your seeds out of the seed packet.
Step 2) Get some moist (not wet) soil (approximately between 33-40°F. There's a lot of wiggle room, especially for fluctuations in temperature, but don't put it in the freezer), and make sure your seeds are touching it.
Step 3) Leave your seeds in contact with that moist soil for the length of time specified on your seed packet.
Step 4) Let them warm up and start growing once that period of time has passed. Once their required period of cold stratification is done, they can't go back into storage: they're now ready to grow!
...Yup, that's all.
The various ways of doing this (mix the seeds into a bag of potting soil in the fridge, sow the seeds outside during the wintertime - especially right before a snowfall, winter sow outdoors in recycled containers, sow them into a pot in your fridge, etc.) are where people get turned around with cold stratification, but it really, genuinely is this simple. If and when you get confused, return to these steps: are my seeds out of the seed packet? Are they touching cool, moist soil? Have I left them there for approximately the correct amount of time? Did I give them a chance to grow once that period of time was done? Did I follow any other germination directions that might have been listed on the seed packet?
Ask yourself these questions and you'll avoid 99% of all cold stratification problems people tell us about. All cold stratification means is a period of time where cool, moist soil is touching the seed. Cold stratification is actually very easy! Despite the somewhat intimidating name. But it does bring us to our next point:
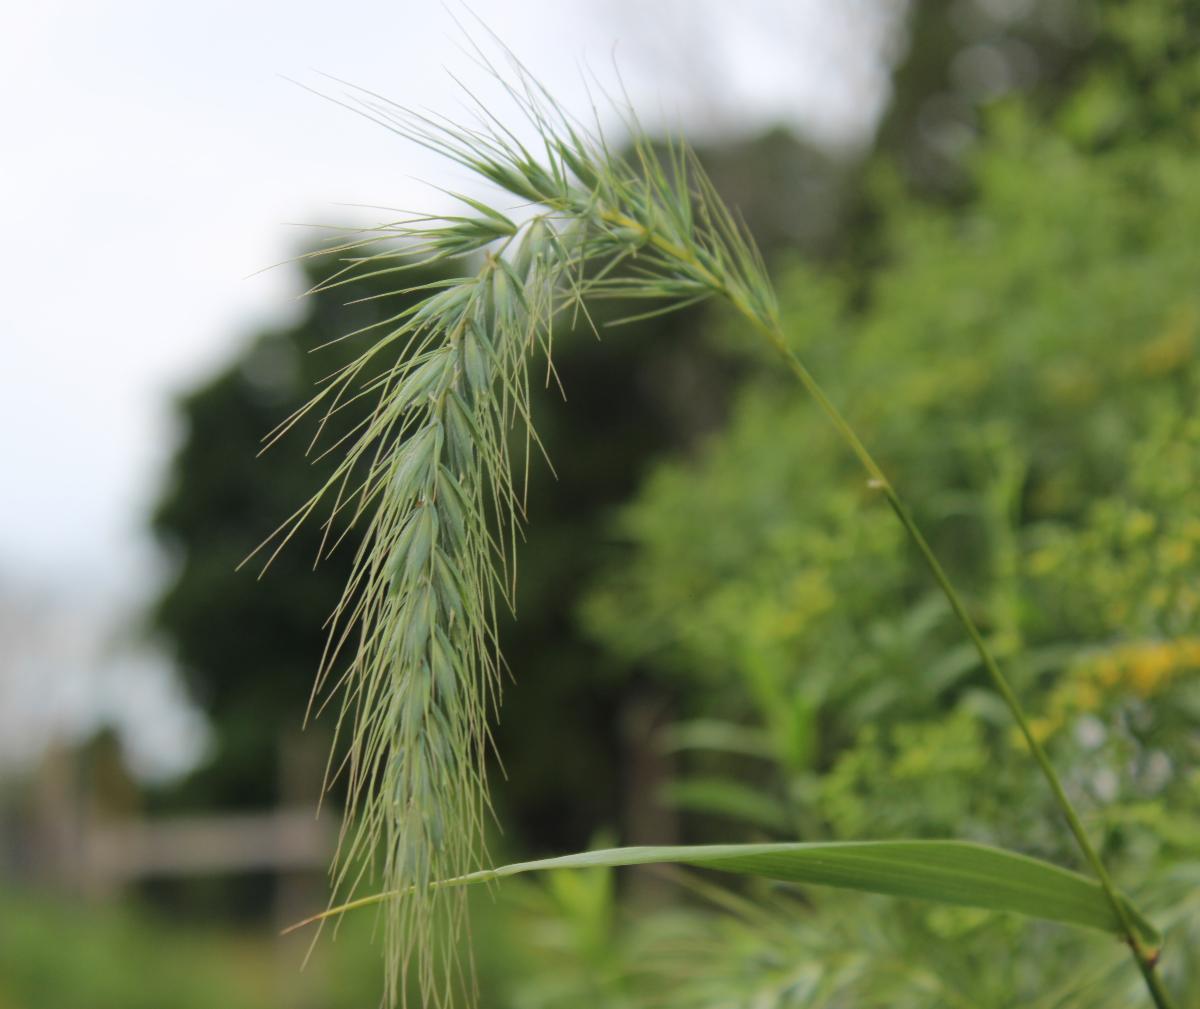
In nature, most seeds, like those of this Canada Wild Rye (Elymus canadensis) end up on the ground over the winter. That's all you're trying to imitate, no need to overthink it too much!
Concept 3: You're Probably (But Not Necessarily!) Too Late To Start Those Seeds
So the problem is this: the reason we all want to start gardening right now is because the world is beginning to green up. And the world is beginning to green up because the arrival of spring means the arrival of warm weather. Which means that period of cool, moist soil you need to start most native plants from seed? Is just ending (just a couple of weeks left in our area). Yes, you can cold stratify native plant seeds in your fridge, and you can plant them out in the middle of the summer, but generally native plants do much better if they begin to grow in the springtime (much like most other plants).
However.
Not all native plant seeds require cold stratification. Some, like Eastern Redbud (Cercis canadensis) can be cheated by giving them a hot soak overnight, which tricks the seeds into breaking dormancy. This doesn't work for all seeds (again, see concept 1: only do this if it's in the instructions!), but not every native plant seed requires a waiting period. Mountain Mints (Pycnanthemum sp.), which we talked about last month, don't require any treatment at all for their seeds. You can plant them, right now, without any weird tricks or waiting periods, and they will grow - and they certainly aren't the only native plant like that.
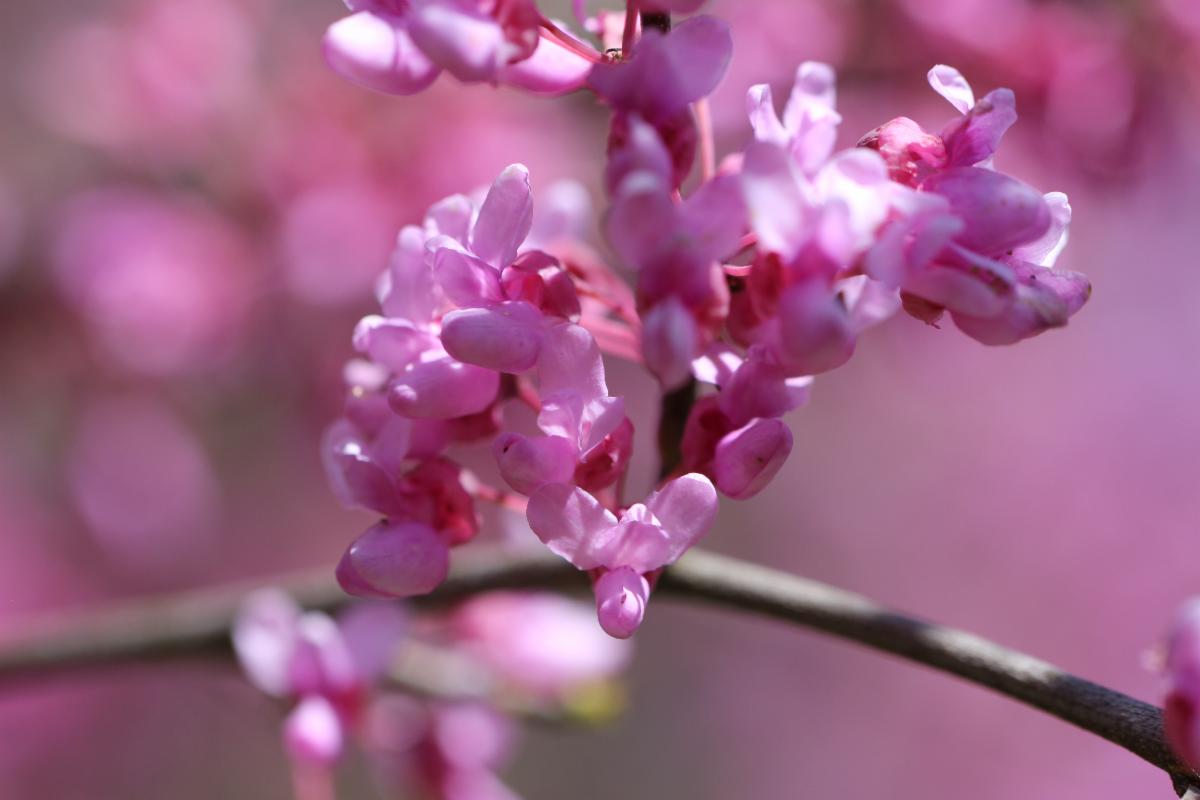
Redbuds (Cercis canadensis) are particularly easy to spot this time of year: just look for the bright pink bushes!
Concept 4: Put Down The Gas-Powered Leafblower And Garbage Bag
Tempting as it is to run out and tidy up our gardens the instant we feel we're allowed to (I assume by now we've all heard the "5 Days Over 50 Degrees" rule of thumb), it's not only unnecessary to compulsively groom our gardens in the springtime, it's actively harmful to beneficial insects in our gardens, and it's a poor sustainability practice to get rid of all of that sustainable, naturally-occurring, composting, insulating, and moisture-retaining leaf duff only to replace it with dyed, shredded trees. Sorry--I mean, mulch.
I know it's tempting. Trust me, I know. And true, most pollinators wake up and start busily on their summer to-do list at the first available opportunity, so many of them are already out of the leaves and on the move. But the important word there is many. Not all. The leafcutter bees who don't emerge from their stem nests until mid-May will be quite dismayed to find themselves brought to the curb in a garbage bag (or have their home otherwise destroyed), and they'd have plenty of company. They'd also be joined in your garbage bags by firefly larvae (many species of which are in trouble!), which spend their time in moist soil just below leaf litter, often venturing up into the leaf litter itself to eat your garden slugs. They may also be joined by toads and salamanders, which tend to spend their time in moist, undisturbed leaf duff, snacking on your garden pests. If you're gardening with native plants, it's often a triumph to tempt these delicate creatures into your garden. It would be a shame to evict them so rudely!
Much of the "wildlife desert" around cities is caused by intense social norms of over-manicuring the landscape, so if you're building an oasis in your yard from that, then you may need to buck some social norms! And this, unfortunately, is one of those. However, if you truly need to clean your garden, then do your local insects and amphibians a favor: gently relocate your leaves and stems with a rake to an out-of-the way spot (or brush pile) where they can remain undisturbed and simply let them be. Frankly, they break down pretty quickly: leaf blowers and repeated mowing of leaf piles are a waste of gas, effort, and wildlife. Save yourself some time and some fireflies: just leave them alone!
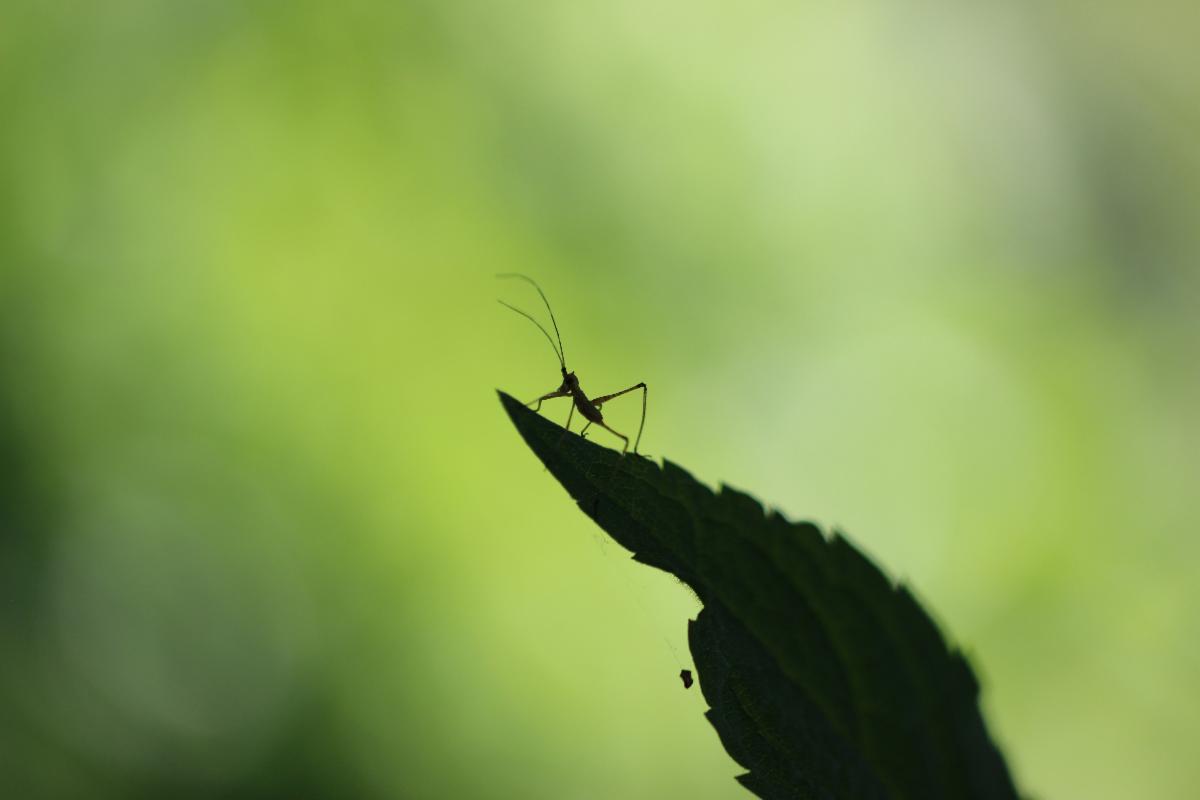
Honestly, you never know who you're going to find in your garden, so it's better to be safe than sorry, where accommodating for wildlife is concerned. I never did figure out what kind of baby grasshopper this was, but he certainly did have a flair for the dramatic.
Concept 5: Go Nuts
So with all that said, what can you do to get a good start on the growing season? LOTS.
Native plants can be planted at pretty much any time of year. Fall is terrific, summer works just fine, winter is...a choice, but often technically doable. Spring? Spring is a fantastic time to plant native plants. It gives them a cool period in which to settle into their new home before the blazing heat of summer hits, a (theoretically) moist period before we get that dry weather that keeps showing up during the summer, and a long time to get their roots settled in and spread out before winter, giving them their best chance to overwinter happily. For any spring-blooming plants, they've probably already started to bloom, meaning they'll likely spread seeds in their new home, hopefully giving you freebies next year. And for any summer or fall-blooming plants, putting them in now will minimize transplant shock near their bloom time, giving you your best odds at getting wonderful blooms this year.
Also to be perfectly frank, a lot of fall-blooming plants bloom at four, five, even six feet high, and that's remarkably unwieldy in a small pot in September. Trust me, they transplant a lot better (and ship a whole lot cheaper) in the spring when they're still just resprouting from their roots, than they do when they're taller than I am and toppling over at the slightest gust of wind.
Another secret of transplanting plants in spring? Most of them will put up with a great deal of disturbance right now, which means in many cases you can turn one plant into several with relatively little effort. It may be too late to start most plants from seed, but it's a wonderful time to propagate by division, which honestly produces mature plants a lot faster (if in slightly lower numbers) than seeds. Also dividing plants always feels wonderfully primal: you don't have to be anywhere near as gentle as you do when transplanting seedlings, so when we say go nuts, genuinely feel free to do so. The plants won't judge, and neither will we.
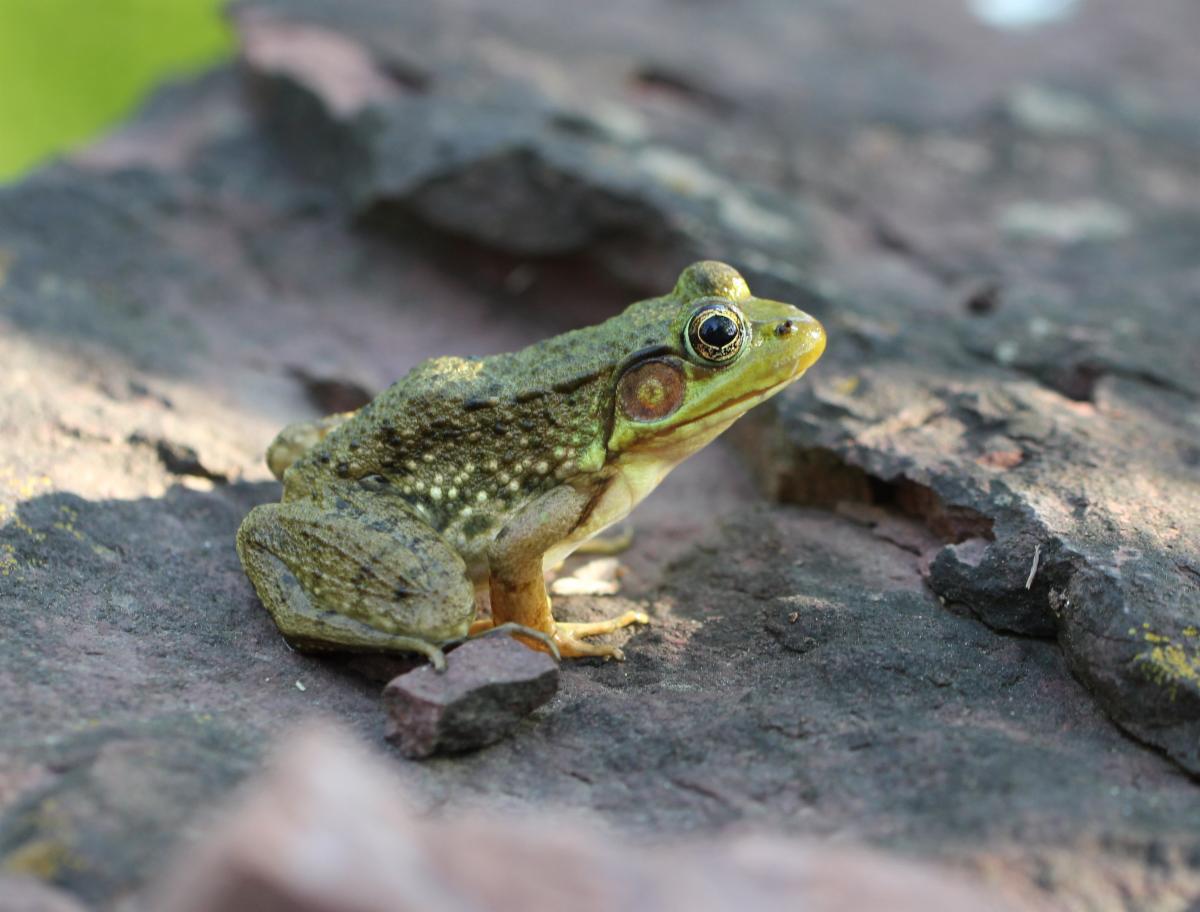
The frogs admittedly might judge, but that seems to just be how they look.